Enter a keyword below to search for articles and products.


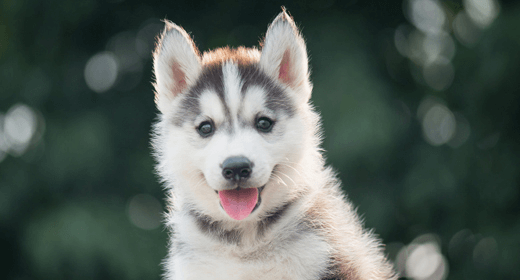
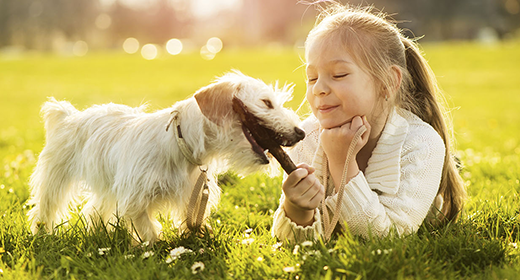
Watch as Expert Dog Trainer Kathy Santo talks about how to crate train your puppy. She’ll go over everything from the philosophy behind the crate training method to precautions you should take to make sure that it’s a positive experience for the both of you.
Hi, I'm Kathy Santo with IAMS, and today we're going to talk about how to crate train your puppy. We'll begin with a general discussion on the philosophy supporting the crate training method. We'll review what you'll need, the steps involved in the process itself, and some possible troubles you may encounter along the way. Before you begin crate training, it helps to understand the philosophy behind this method. If your dog is properly crate trained, he'll view his crate as a private room with a view, a safe haven he can call his own, and a quiet place he can relax in. He won't see it as a rigid structure of confinement and punishment. In fact, it'll be just the opposite. In nature, wild dogs seek out and use their den as a home where they can hide from danger, sleep, and raise their young. In your home, the crate becomes your puppy's den, an ideal spot to sleep and stay out of harm's way. And for you, the benefits of crate training are house training, because your puppy won't like to soil the area where he sleeps, limited access to the rest of the house, where he learns the house rules, and transporting safely and easily in the car. Start crate training a few days after your puppy settles in. Before you can start crate training, you and your family members must understand that the create can never be used for punishment. Never leave your young puppy under six months in his crate for more than three hours. He'll get bored, have to go to the bathroom, and won't understand why he's been left alone in discomfort. As your dog gets older, he can be crated for longer periods of time, because his bladder isn't as small. But keep in mind he still needs a healthy portion of exercise and attention daily. If you and your family are unable to accommodate your puppy's exercise, feeding, and bathroom needs, consider hiring a dog walker or asking a neighbor or friend for assistance. After that, the crate should be a place he goes into voluntarily, with the door always open. There are a variety of crates available for purchase these days, each of which is designed for a different lifestyle need. When selecting a crate, you want to make sure it's just large enough for your puppy to be able to stand up, turn around, and lay down in comfortably. Because your puppy will grow quickly, I often recommend getting a crate that fits the size you expect your puppy to grow to, and simply block off the excess crate space, so your dog can't eliminate at one end and retreat to the other. The two most important things to remember while crate training are that it should be associated with something pleasant, and takes place in a series of small steps. The first step is to introduce your puppy to his crate. This will serve as his new den. Put bedding and chew toys in his crate, and let him investigate his area. If he chews or urinates on his bedding, permanently remove it. Observe and interact with your puppy while he's acclimating to his crate. This will help forge a sense of pack, and establish you as the pack leader. Encourage him to enter the crate with soft words and some treats. You can also pre-place some treats in the back corners and under the blankets to help make it a pleasant experience. Step two is to start feeding your puppy in his crate. Begin with the bowls near the opening of the crate. As your puppy becomes less reluctant to enter, slowly inch the food back every feeding, until you're placing it all the way in the back. When you get to the point where your puppy happily enters the crate, and stands in the back to eat, begin gently closing the crate door behind him while he's eating. At first, open the door immediately after he finishes. But after that, begin leaving the door closed a bit longer every time. If your puppy cries, you may have increased the time too fast. So decrease the length of it, and then slowly begin increasing it again. When he does cry, do not let him out until he stops, or he'll always do this to get his way. Once your puppy is used to eating his meals and waiting to be let out with no anxiety or crying, you can start confining him longer when you're home. To do so, call him over with a treat, and give it to him in his crate. Associating a command such as 'kennel' is important, so he understands the reward is a result of going in the crate. At first, you'll need to sit quietly next to him. If he's fine after 10 minutes, go into the other room for a bit, and then come back and let him out, only if he is calm and not crying. If he is crying, you'll have to wait until he's calm. Once you can leave him for about 30 minutes at a time without him getting upset, you can start leaving him there longer. Eventually, decrease the amount of reward you give him for entering the crate, so that saying the command word is sufficient. When you get home after being away for a long time, your puppy will likely be very excited to see you. It's important not to reward this behavior, or anticipating your arrival every day may be stressful for him. And lastly, make sure to crate your dog for short periods of time while you're home, or else he will associate crating with being left alone. I'm Kathy Santo with IAMS, and I hope that you found this helpful as you welcome your new addition to your family.
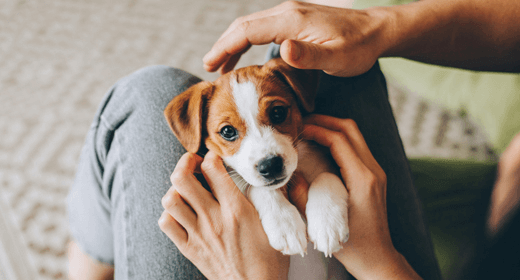

Congratulations! You're the proud owner of a puppy. It's important to take steps now to ensure great puppy health. Louise Murray, DVM, director of the ASPCA's Bergh Memorial Animal Hospital in New York City and author of Vet Confidential (Ballantine, 2008), offers these pointers for your puppy's first year.
Talk to friends to find a veterinarian you can trust. Within a week of bringing your puppy home, take him for a checkup. The doctor will perform a physical and start keeping a detailed medical history.
The overvaccination of pets is currently a hot topic, Murray says. The question is, however, not whether to vaccinate but which vaccines to use and how often. What she calls the 'core vaccines'—those for parvovirus, distemper, adenovirus type 2, and rabies—are essential. 'These shots protect your dog from diseases that are very real, very common, and very dangerous,' she says. Additional vaccines may be necessary based on where you live, where you take your dog, and whether you travel.
Choose a reputable brand of dog food and discuss your choice with your veterinarian. In his first year, your puppy will be on food that is specifically geared toward younger dogs and will likely eat three times a day rather than once or twice.
An excellent measure against pet overpopulation, this procedure ideally should be performed between ages 4 and 5 months, which is before a female dog goes into her first heat and before a male enters puberty. A female dog who is spayed before going into heat is 2,000 times less likely to get breast cancer, Murray says. Males who are neutered before entering puberty have fewer behavioral issues, such as aggression toward other dogs and urine marking.
Puppy Health: Flea, Tick, and Heartworm Medicines
Most dogs should be on medicine year-round to prevent heartworm, a life-threatening parasitic infestation, Murray says. Fleas, often seen as just an annoyance, can actually cause severe skin problems and even anemia. Ticks carry multiple diseases (including Lyme disease and Rocky Mountain Spotted Fever). Your veterinarian can prescribe effective preventives for these two problems.